
You have set up an Application form section in Info Collection and have opted to approve event applications (in Setup – Options – Automatically Approve Events – No).
This set-up means that once an event has completed the application phase you will be notified and they will not be able to return to fill in further sections/questionnaires until you have reviewed and accepted their application.
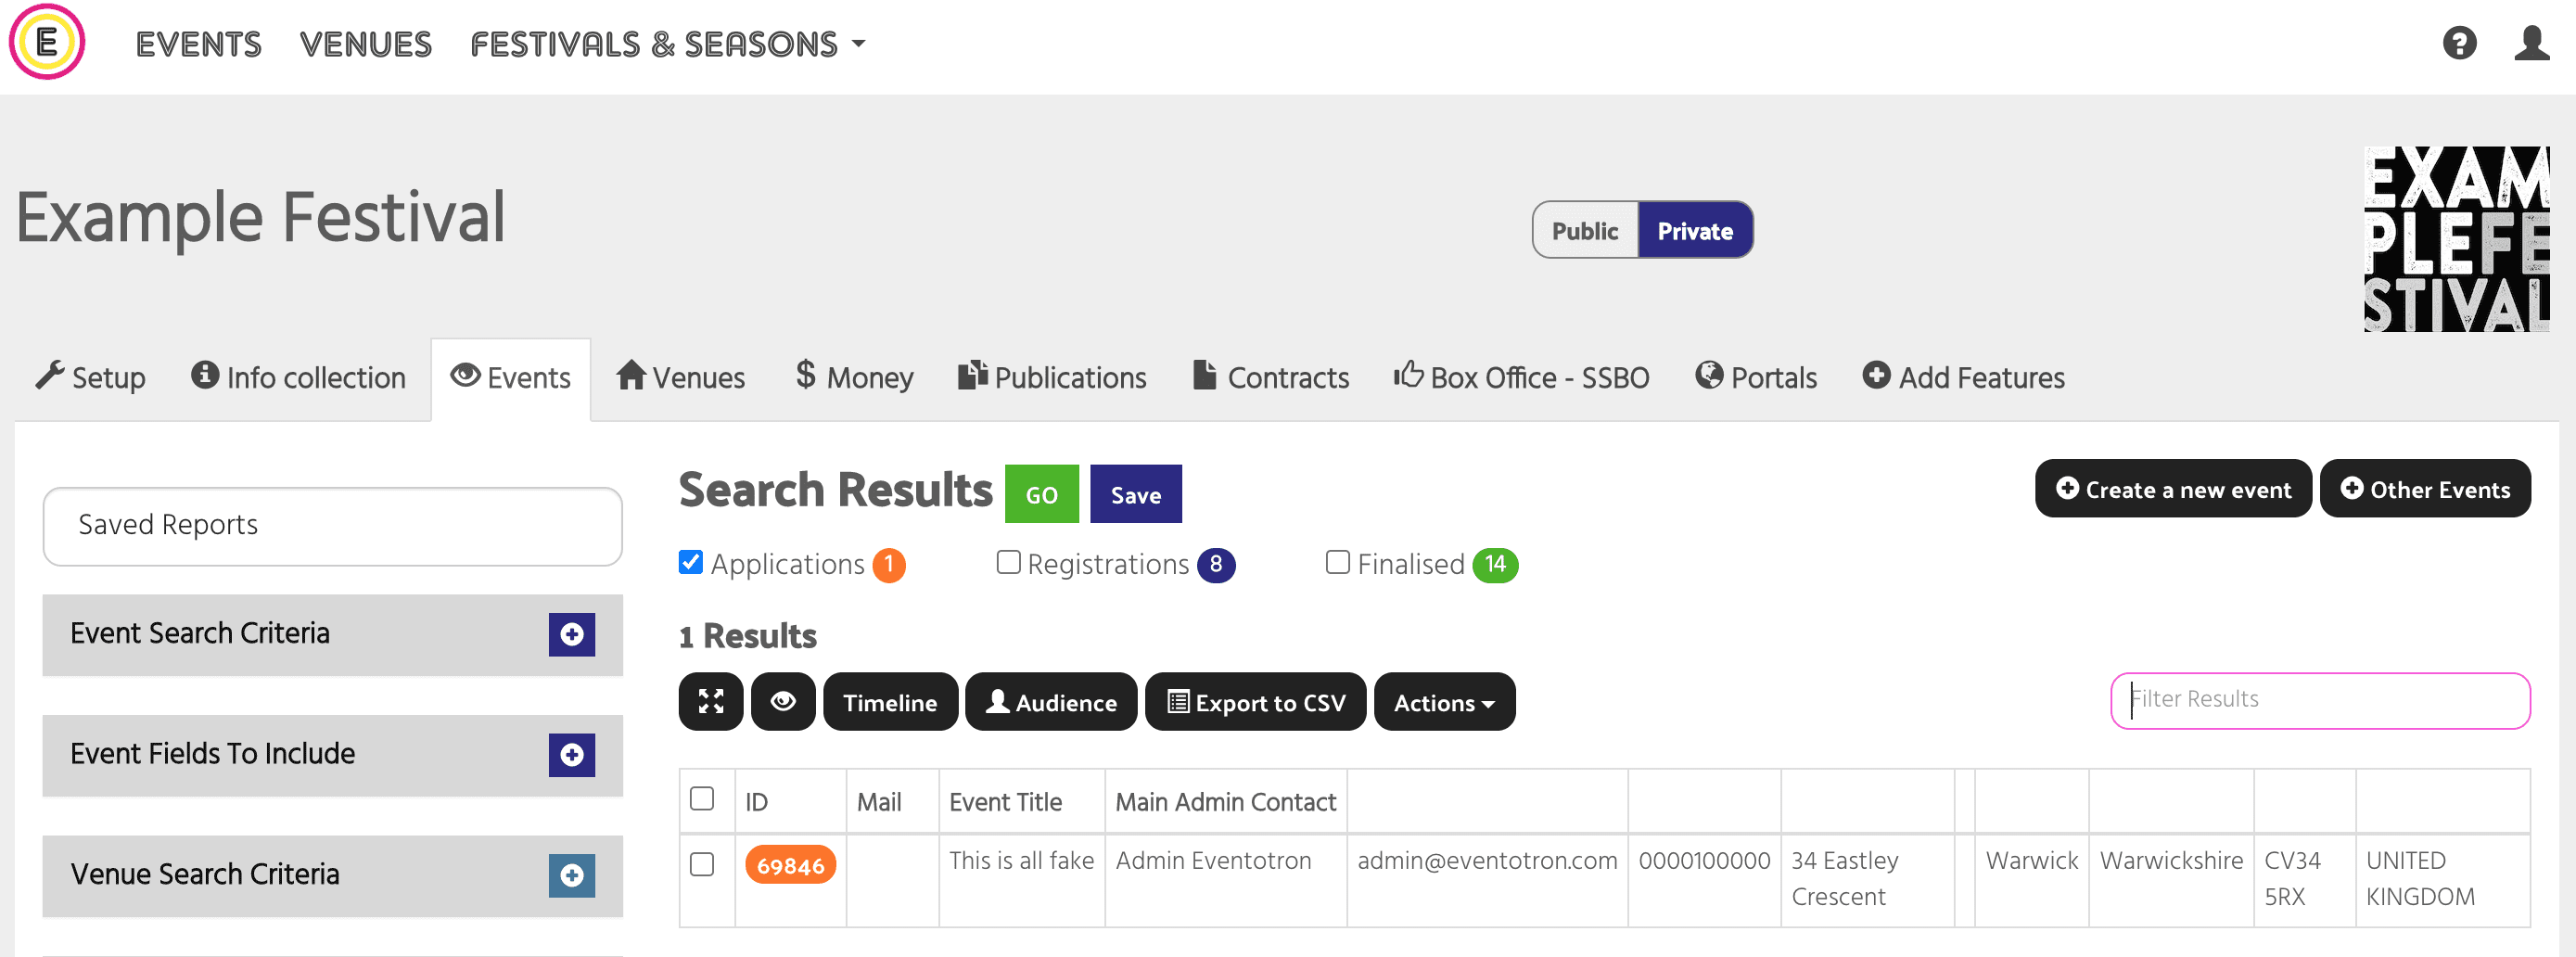
To manage your applications go to the Events tab in the management console and only tick Applications then click GO
Accept
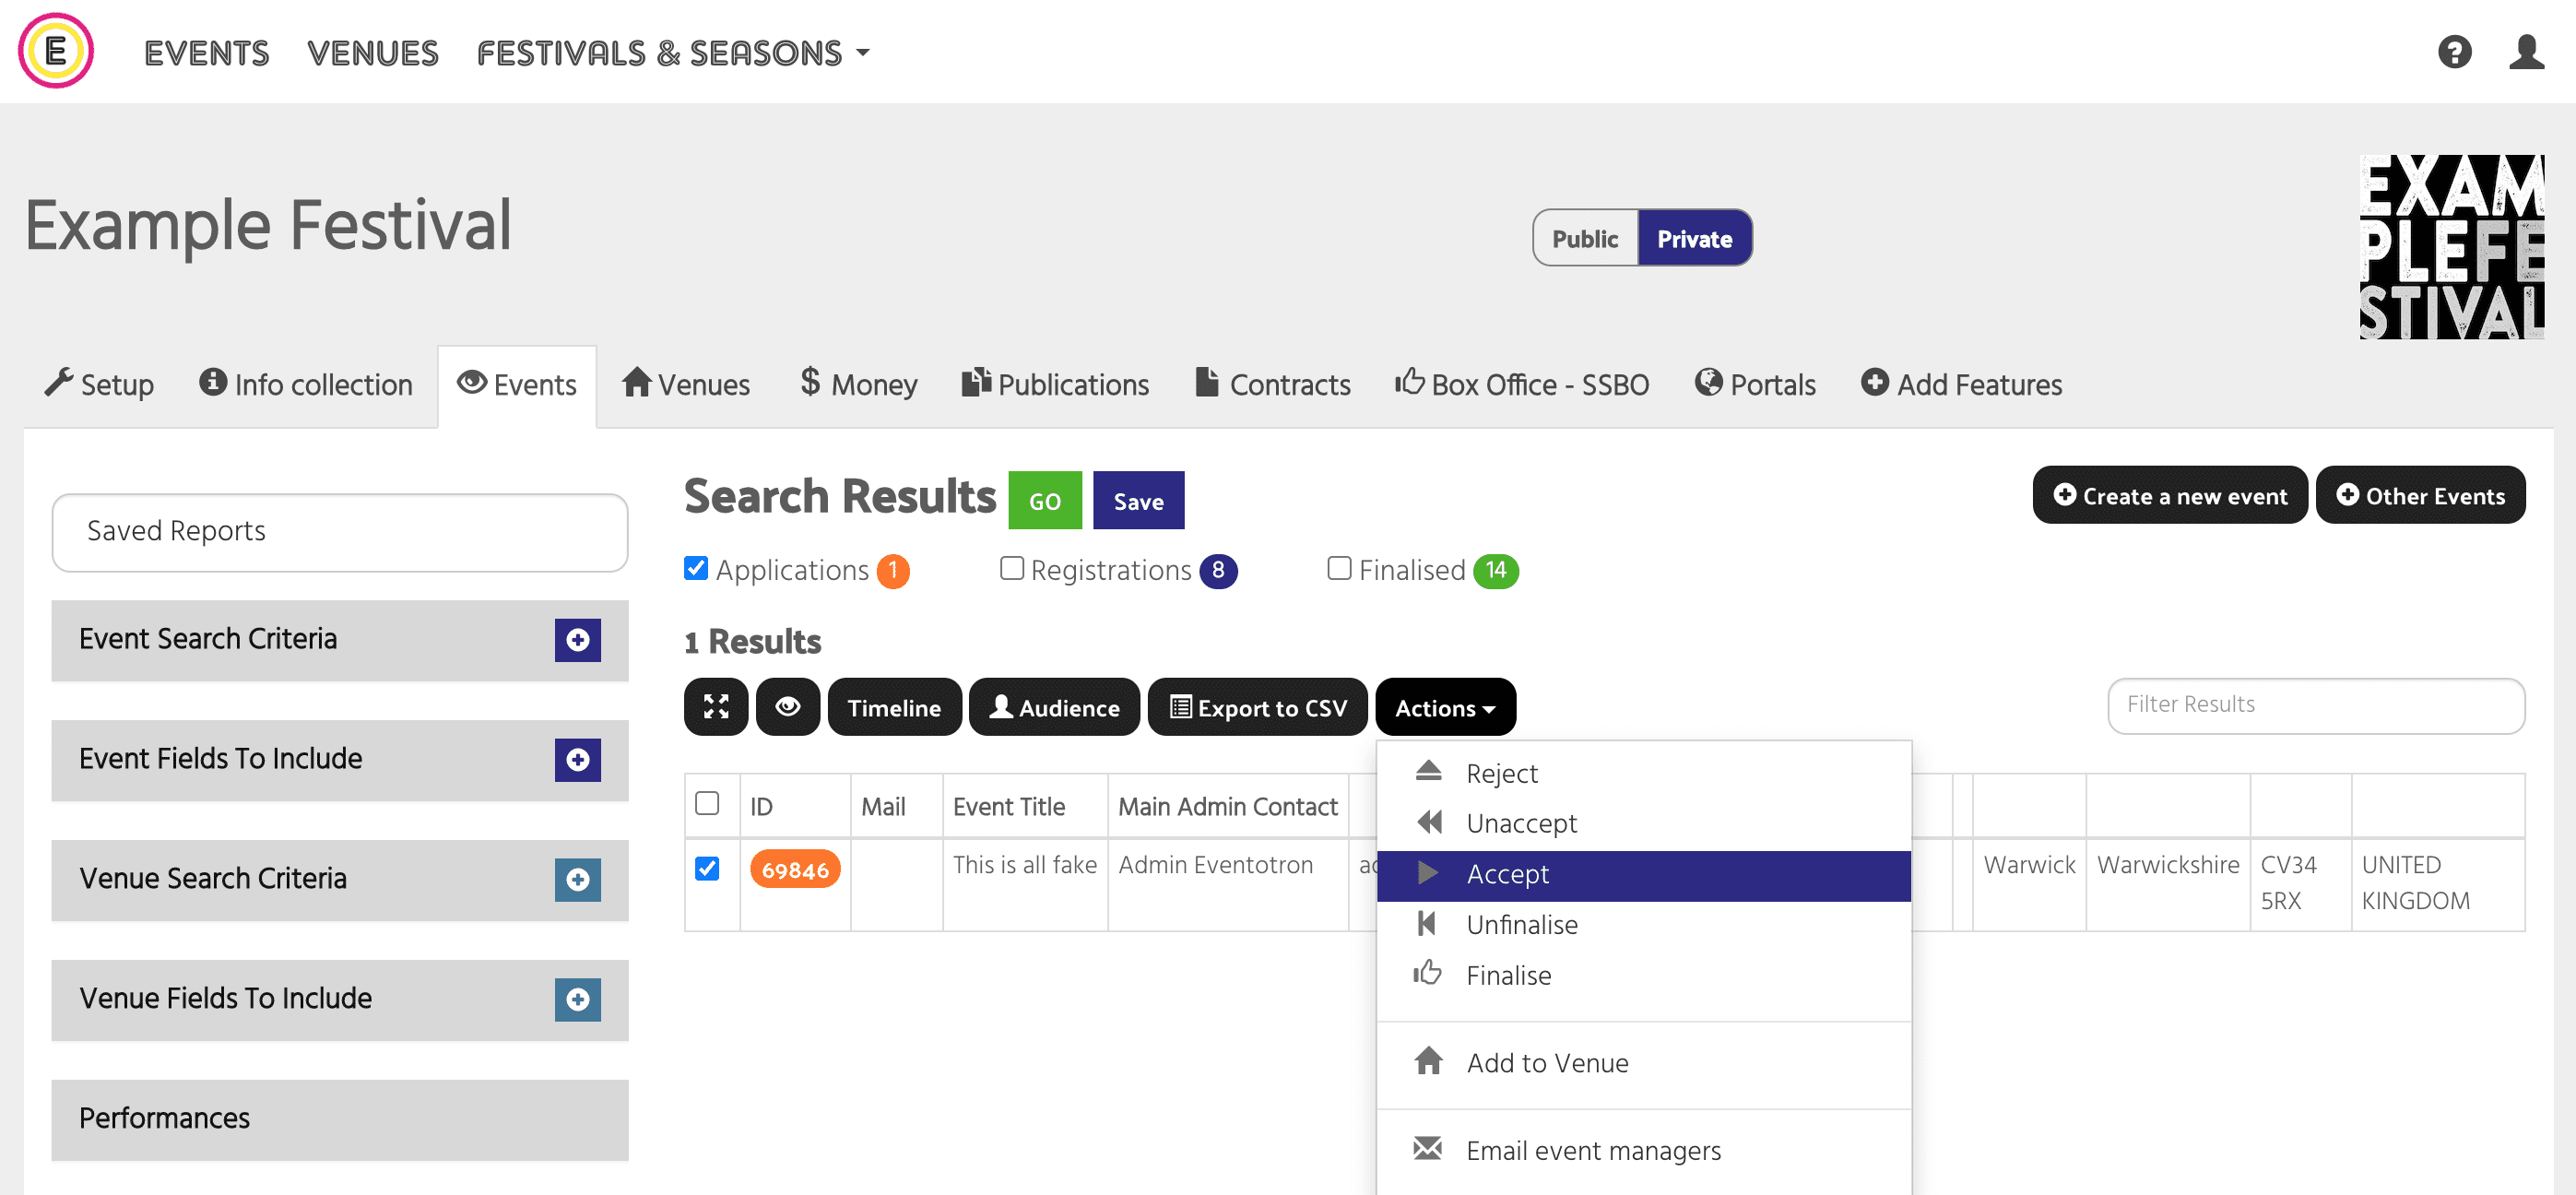
You can click on the orange ID of each application to review it. To accept an application, tick the box next to the ID and then click on Actions and Accept.
A pop-up will appear and you’ll be given the option to send a message to the selected event(s):
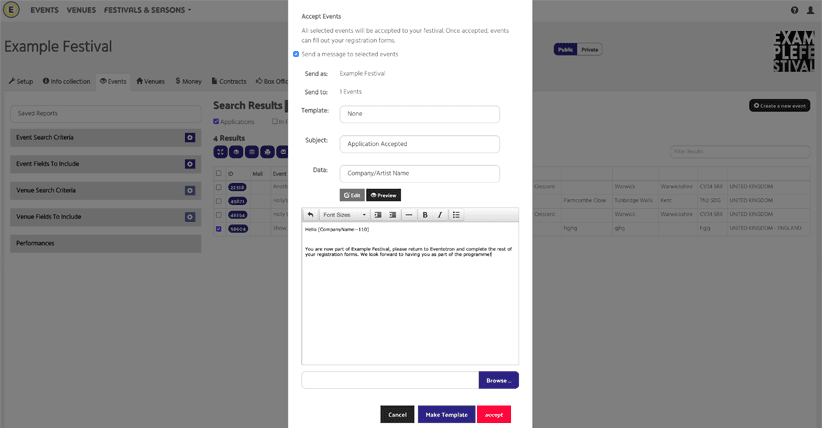
Then click accept (or make a template of your accept email so you can send the same message again at a later date). The event will now be in the In Progress state and can return to complete any further sections you have set up.
Reject
If you want to reject an application, follow the same steps but click the Reject under Actions.
Please note: This does mean that the application will no longer be accessible to you and there will be no record of it associated with your festival/season. It is best to keep applications you don’t want to pursue in the application state. You can notify them that you will not be taking their application forward by using the bulk email function.
Unaccept
If you have accepted an event but then need to unaccept it, select Registrations and hit GO. Tick the event you want to unaccept and click unaccept under the Actions button. This will return the event to the Application state.
